
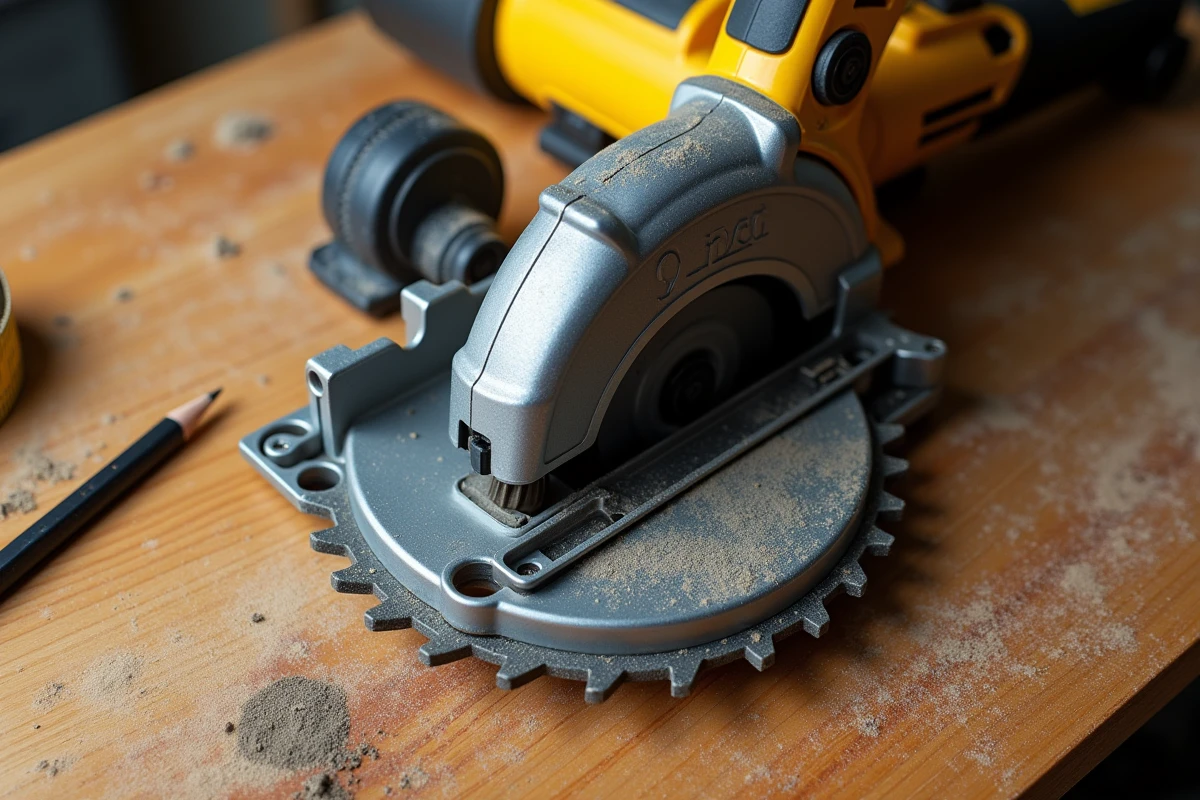
The plunge saw is not a circular saw with a spring return. The mechanics of the blade descent, the quality of the rail-mounted carriage, and the management of dust extraction form a technical ensemble where each component influences the final cut. Here, we discuss the points that separate a worthwhile purchase from a disappointing tool.
Carriage and guide rail: the true differentiator of a plunge saw
The first instinct is to compare motor power. This is a hierarchical error. On a plunge saw, the quality of the saw and rail system determines precision far more than power. A decent motor paired with a stable carriage and a rigid rail will produce clean cuts on melamine panels, whereas a powerful motor mounted on a wobbly carriage will tear the veneer.
Related reading : How to Choose the Right Mower Blade for a Perfectly Maintained Lawn
We recommend checking three points on the carriage: the absence of lateral play when the saw is placed on the rail, the smoothness of movement without stiff points, and the presence of integrated anti-chip strips on the rail. These strips, often made of rubber or soft plastic, come into direct contact with the panel and eliminate blade exit chipping.
To choose a plunge saw for DIY effectively, consider the saw-rail combination as a single system. A universal rail suitable for multiple brands may work, but tolerances will rarely be as fine as with the manufacturer’s original rail.
You may also like : How to Choose the Ideal Location to Set Up and Grow Your Business
Rail length and panel cuts
A 1.40 m rail is suitable for most cuts on standard panels. For kitchen countertops or large formats, a 3 m rail (or two connected rails) becomes necessary. Check that the manufacturer offers a compatible junction kit, as not all systems allow for a seamless connection.
Blade and cutting depth: adapting the consumable to the material
The blade supplied with the plunge saw is rarely the right blade for all tasks. It offers an acceptable compromise, but changing the blade according to the material transforms the cutting quality.
- For melamine and laminate, a flat trapezoidal tooth blade with a high tooth count (over 48 for a common diameter) limits chipping and provides a clean edge without rework.
- For thick solid wood, an alternate tooth blade with fewer teeth speeds up cutting and reduces overheating, preventing burn marks on oak or beech.
- For composite panels or MDF, a versatile alternate tooth blade works well, but dust extraction must be continuously connected to avoid rapid clogging of the teeth.
The maximum cutting depth determines the thickness of pieces you can cut in a single pass. Common models reach a sufficient depth to cut through a standard countertop. However, for beams or thick glued laminated timber, a limited cutting depth will require flipping the piece, complicating alignment.
Wired or cordless plunge saw: balancing constant power and mobility
Wireless ranges have progressed to the point of competing with wired models on short and repeated cuts. The question is no longer whether a battery-powered plunge saw cuts properly, but whether it can keep up throughout a full day of cutting.
A wired model delivers constant power regardless of usage time. For workshop use with an accessible outlet, it remains the most rational choice. The weight is often lower, as there is no battery attached to the machine.
The cordless plunge saw makes the most sense on-site, when moving between rooms or working at height without an extension cord. Battery life depends directly on the battery capacity and the density of the material being cut. Having at least two batteries allows for uninterrupted work.
Battery compatibility and tool ecosystem
If you already own cordless tools from a specific brand, check the compatibility of the battery platform. Purchasing a plunge saw within the same ecosystem avoids multiplying chargers and reduces overall costs. This criterion weighs more than a minor difference in motor torque between two brands.

Dust extraction and anti-chip features: two underestimated functions on a plunge saw
Connecting a vacuum to the plunge saw is not a comfort option. Dust extraction improves visibility of the cut line and extends the life of the blade. On MDF or melamine, fine dust accumulates in front of the teeth and causes premature overheating. A vacuum with automatic triggering synchronized to the saw’s startup simplifies the workflow.
The anti-chip device, integrated into the rail or base, deserves special attention. On some models, it can be easily replaced. On others, it is molded into the rail and loses its effectiveness with wear without a simple replacement option. We prefer systems with removable anti-chip strips, as they can be renewed at low cost.
Depth adjustment and plunge stop
The plunge stop allows limiting the blade descent to create grooves or rebates without cutting through the piece. A micrometric adjustment facilitates repeatability. If you plan to make tongue and groove joints, a precise stop to the tenth of a millimeter changes the final result.
The depth lock should remain accessible without releasing the main handle. On some models, a key or a two-handed gesture is required, which slows down work and breaks concentration.
The choice of a plunge saw hinges on the compatibility between the guiding system, the blade suitable for the material, and the power supply mode. A tool well matched to its rail and vacuum covers most panel cutting and precision work needs, without compromising on edge quality.